Building a Form
Learn how to create a new form, then add, configure, move, duplicate, and delete elements.
Creating a New Form
- Log in to DNN as an administrator and open the Form Builder Admin page.
- Click Manager.
- Click Add.
- Enter a name for the new form and click Add Form.
You're ready to start adding elements and configuring the form.
Editor Top Toolbar
The top toolbar inside the form builder provides the following controls:
Form Settings
| Button | Description |
|---|---|
| Settings (⚙) | Opens Form Settings — styles, notifications, confirmations, anti-spam, etc. |
Multi-page Form Management
| Button | Description |
|---|---|
| Page 1 | Click a page name to switch between pages |
| ⚙ (Page Settings) | Configure the current page |
| 📄 (Duplicate) | Duplicate the current page with all its elements |
| 🗑 (Remove) | Delete the current page |
| Add page (+) | Add a new page |
See Multi-page Forms below for details.
Preview Controls
| Button | Description |
|---|---|
| 🔄 (Refresh preview) | Refresh the preview panel |
| 📱 (Phone size) | Preview at phone width |
| 📱 (Tablet size) | Preview at tablet width |
| 🚫 (Hide preview) | Show only the builder panel |
| 👁 (Show preview only) | Show only the preview panel |
Save
| Button | Description |
|---|---|
| Save (💾) | Save all changes to the form |
Save Often
Click the green Save button in the top-right corner after editing to avoid losing changes.
Adding Form Elements
Click or drag an element icon from the top toolbar into the builder panel below to add it to the form.
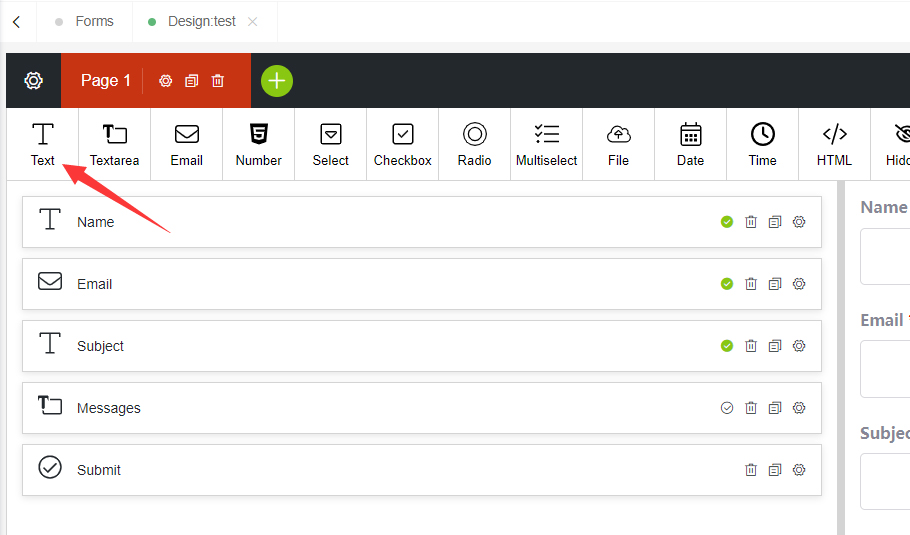
Each new element shows up in two places at once:
- Builder Panel (left) — edit and arrange elements
- Preview Panel (right) — live preview of the form
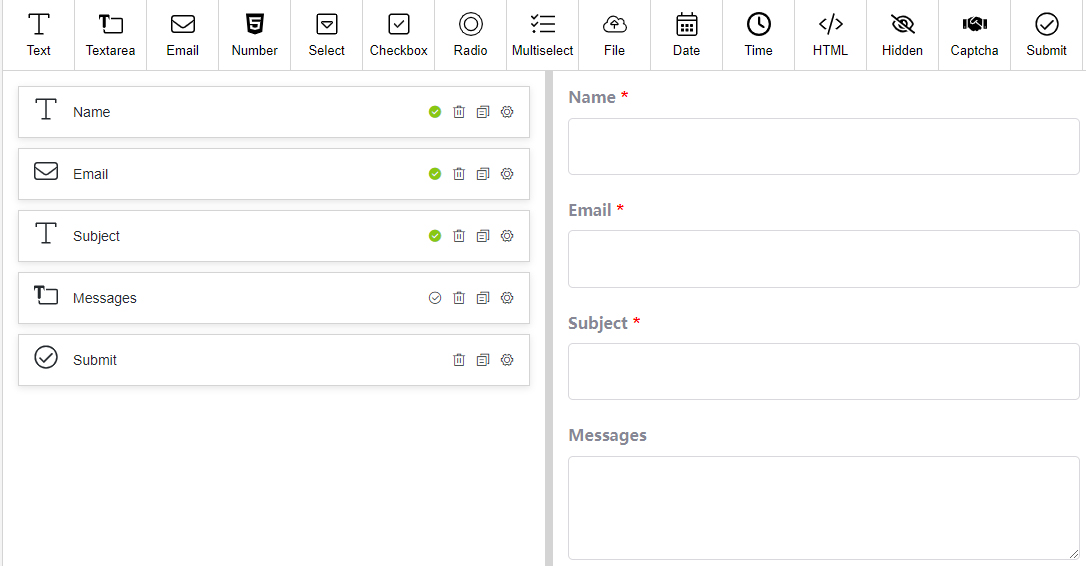
Live Preview
The preview panel updates in real time as you build, so you always see exactly what users will see.
Configuring Elements
- Click the gear icon (⚙) on an element in the builder panel.
- Adjust its properties in the settings panel that opens.
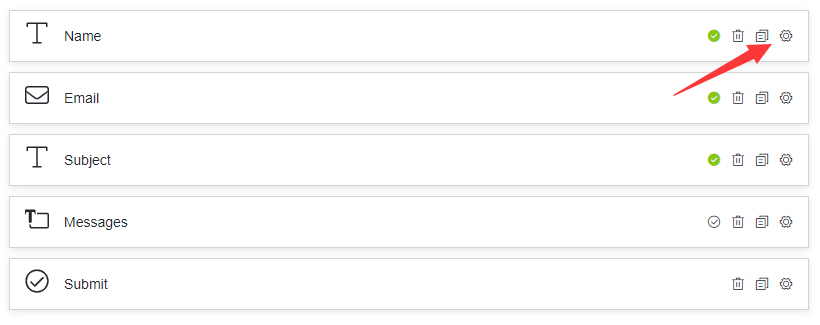
For element-specific options, see Element Types. Click Save or Cancel when you're done.
Moving Elements
Click and drag an element to reposition it within the builder panel.
Duplicating Elements
Click the duplicate icon on an element to clone it.
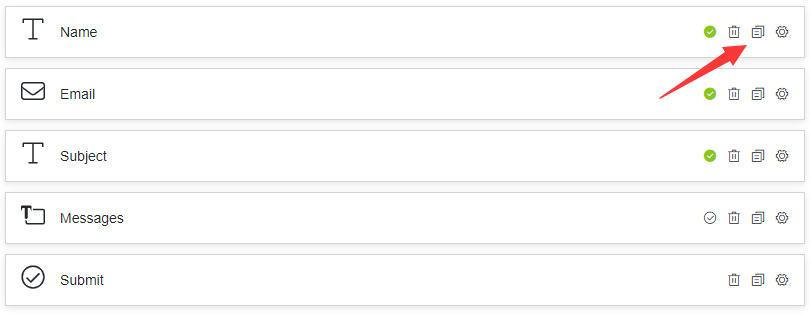
The copy appears right below the original with the same configuration, ready for you to tweak.
Deleting Elements
Click the trash can icon on an element to remove it.
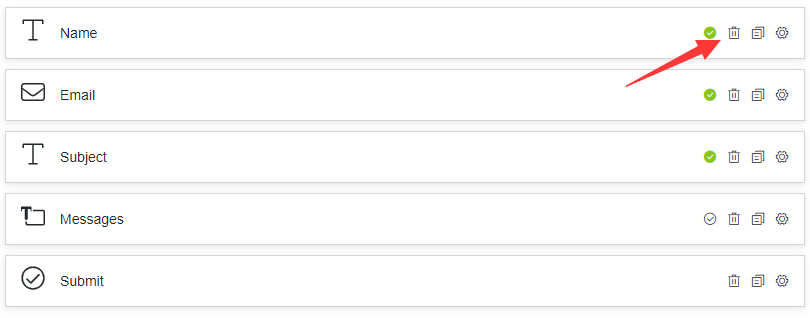
Deleting Loses Historical Data
Once an element is deleted, you can no longer view data that was previously submitted through it. To keep the data, hide the element instead of deleting it.
Multi-page Forms
Split a long form into multiple pages so users can fill it in step by step — great for questionnaires, registration forms, and multi-step orders.
Creating a Multi-page Form
Use the page controls in the Editor Top Toolbar:
- Click Add page (+) to create a new page
- Click a page name (Page 1, Page 2, …) to switch between pages
- Add elements to each page independently
Page Operations
| Operation | Description |
|---|---|
| ⚙ Settings | Configure the current page |
| 📄 Duplicate | Duplicate the current page with all its elements |
| 🗑 Remove | Delete the current page |
Pagination Button Styles
Users navigating a multi-page form see Next / Prev buttons. Style them under Style Settings:
- Next button style — the "next page" button
- Prev button style — the "previous page" button
- Pages style — the page indicator
Conditional Logic
Use conditional logic to build dynamic forms:
- Show or hide fields based on user input
- Route notifications to different recipients based on form values
Pre-filling Values from a URL
Pass values through URL parameters to pre-fill form fields — handy for personalized links and pre-populated forms.
Next Steps
- Adding the Form to the Site — Publish your form to a page
- Element Types — Detailed configuration for each element
- Form Settings — Styles, notifications, confirmations, and more